Introduction
Welcome to the ultimate guide on how to upgrade Visual Studio Code from its outdated 32-bit version to the 64-bit version. 🚀
Step 1: Pre-Upgrade Checklist
Before we launch into the upgrade adventure, let us make sure we are running the 32-bit version of VS Code and upgrade is necessary.
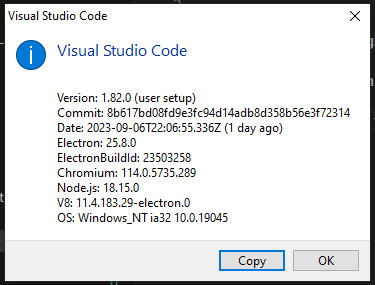
Note: As shown in the screenshot below, the Help > About section of VS Code does NOT seem to enlighten us with that piece of information.
Here is an indication that an upgrade is necessary: when you open VS Code a dialog box warning you that Visual Studio Code on Windows 32-bit will stop receiving updates.
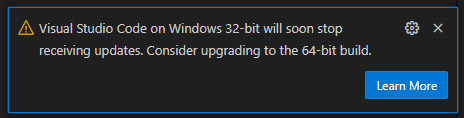
The same message could also appear right below the VS Code menu bar

You could also open the Task Manager (right click on the task bar, or press CTRL+ALT+DEL, and select Task Manager) and look for Visual Studio Code

Step 2: Download VS Code 64-bit Version
To embark on this epic journey, teleport to the official Visual Studio Code download page at https://code.visualstudio.com/download.
Don’t worry; it’s usually smart enough to detect your Windows system and suggest the 64-bit version. But if it plays coy, you can select it by clicking on the “x64” button.

Step 3: Enable Settings Sync (Optional)
Tip: Another option is to use VSCode Profile to back up and restore configurations.
The built-in VS Code Settings Sync feature allows you to back up essential configurations, including Settings, Keyboard Shortcuts, Extensions, User Snippets, and UI State. Follow these steps to enable it:
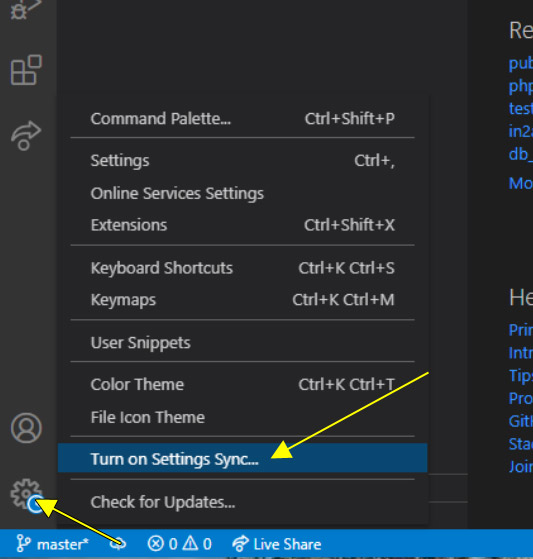
In the lower-left corner of VS Code, click on the “Manage” gear icon. From the dropdown menu, select “Turn on Settings Sync…”.
A dialog box will appear asking if you agree to use Settings Sync. Click on the “Turn On” button.

Click on the “Sign in & Turn on” button.

Choose your preferred sign-in method: “Sign in with Microsoft” or “Sign in with Github”.

Follow the prompts to sign in with your selected method.
Once you’ve successfully signed in, VS Code will initiate the backup process. You’ll know it’s complete when the menu item reads “Settings Sync is On”. (Note: You might have to close and open the menu again for the text to be updated)

By completing these steps, you’ve enabled Settings Sync in VS Code, allowing you to synchronize your configurations across multiple instances of the application.
Step 4: Uninstall VS Code 32-bit Version
Press the Windows key, type in ‘Add or remove’, select ‘Add or remove programs’, locate and uninstall Microsoft Visual Studio Code


Step 5: Install VS Code 64-bit Version
Locate the downloaded installer file and perform the mystical installation ritual.
The installation wizard will be your guide; stick with the default settings.
Voilà! You’ve ascended to the elite ranks of 64-bit coders, where your code flows like poetry, and your productivity soars like a caffeinated eagle. 🦅💻
Conclusion
In conclusion, the move from a 32-bit to a 64-bit version of Visual Studio Code is imperative due to the impending obsolescence of the former. With the 32-bit version losing support soon, upgrading ensures you stay aligned with the latest developments, security patches, and features in the coding world. Don’t delay; make the switch today to safeguard your coding environment and stay ahead in your development journey.